
Scope and Outcomes
This tutorial aims to show the reader such basics of Adobe InDesign and Photoshop as are necessary to format the Collectanea book's interior and exterior for publication with Amazon's Create Space. Instructions here will include Setting up the document's specific dimensions, page elements such as image placement and page numbering, as well as the process of using Master Page templates will be immediately useful. This tutorial was created using Adobe CS6, but it should be relevant for older versions as well. Additionally, weblinks will be provided to important pages from Create Space. Further learning beyond this tutorial is easily accessed through Adobe's website, Youtube, and many other resources available through a simple Google search.About InDesign
InDesign contains many elements the user might recognize from Photoshop and Illustrator. InDesign references content rather than embedding text and image content, which means that if you change a source file, the next time you load up InDesign, it will pull the new content. If your layout pulls from a Microsoft Word document to populate text boxes, InDesign will paginate the text for you among its text boxes rather than adhering to the Word formatting.Using a reference program like this is best accomplished when the user has a consistent file organization. Please plan your folders accordingly.
Starting a New Document
Go to File>New>Document. Hit Okay. Create Space gives its specifications in US measurements, so to change the measurements to inches, go to Edit>Preferences>UnitsAndIncrements. Change the vertical and horizontal measurements to inches and hit Okay.
Setting the Page size and Print Bleed
For this tutorial we are using the print size with a bleed and margins for layout purposes, then later on in this tutorial once layout is completed will be resizing the document to include the bleed portions so that they will be included in the .pdf export which we then send to Create Space. There very well may be a way around this but such is not part of this tutorial.Change the page size and bleed settings go to File>DocumentSetup. Change your specifications here to Create Space's settings and hit okay. The inside edge, that next to the spine, has no bleed. Top, Bottom, and Outside bleed usually has dimensions of .125 inches on each side.

Setting Margins
Create Space is unhappy when it detects image edges or text (this includes page numbers, your proper margins for a text page will likely be located further inside of this boundary) in between the margin distance and the page edge so please pay attention to this when considering your layout. Top, bottom, and outside margins are 0.25 inches, whereas the inside margin along the spine is determined by the page count. Create Space uses the formula on this link. For the Collectanea's page count it is likely to be 0.325 inches. The more pages, the more heavily pages laid open will have to curve downwards to meet the spine.
About Pages and Master Pages
Select which page you'd like to edit by double-clicking the desired page face on the page panel to the right of the screen. Above the page list can be found any master pages, which are templates that can be applied to any number of pages, a convenient way to apply consistent elements to a book, such as page numbers for instance. By default all pages have the master page A applied.
Page Numbering
Sure you can manually type in your page number in every single page, but having it as an automatically updating special character in the master page saves you much effort. Go to Type>InsertSpecialCharacters>Markers>CurrentPageNumber.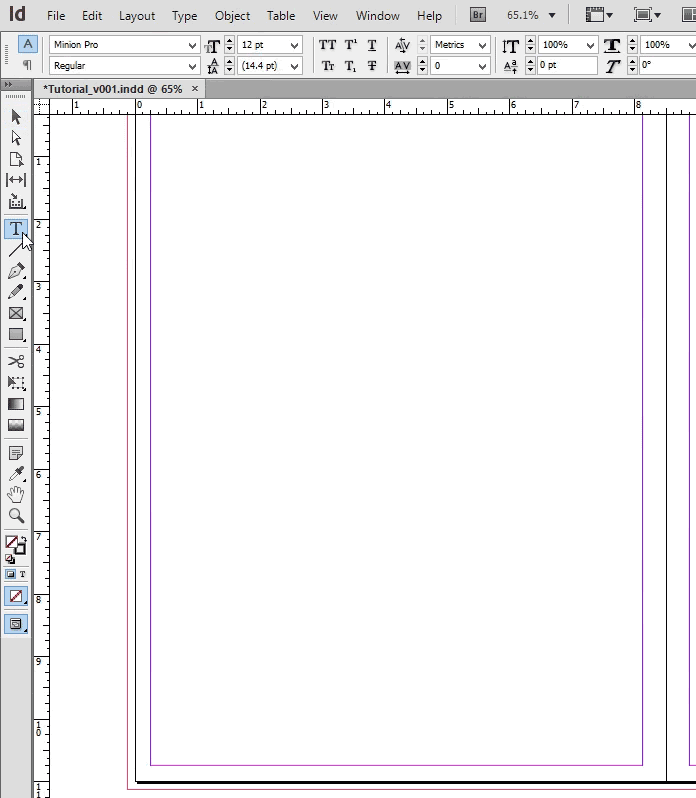
Breaking Page Elements from Master Page
Suppose your title page ought not have the page number on it, or you need to change the color of a page number on account of the background number. Or you need to change any other element. To desynch an element, Shift+Ctrl+Click that element. You may now change that element, or delete it!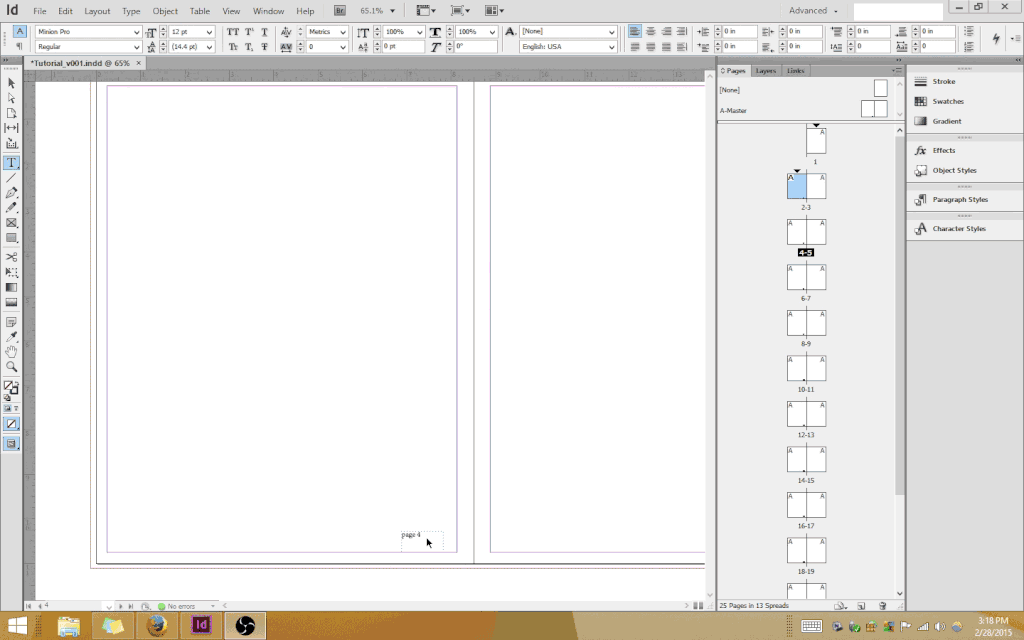
Resynching with Master Page
Did you change your mind about changing an element? Or perhaps you want to apply one of your other master pages to a page? In the pages panel, Click+drag the desired master page onto the page number below to which you wish it to be applied.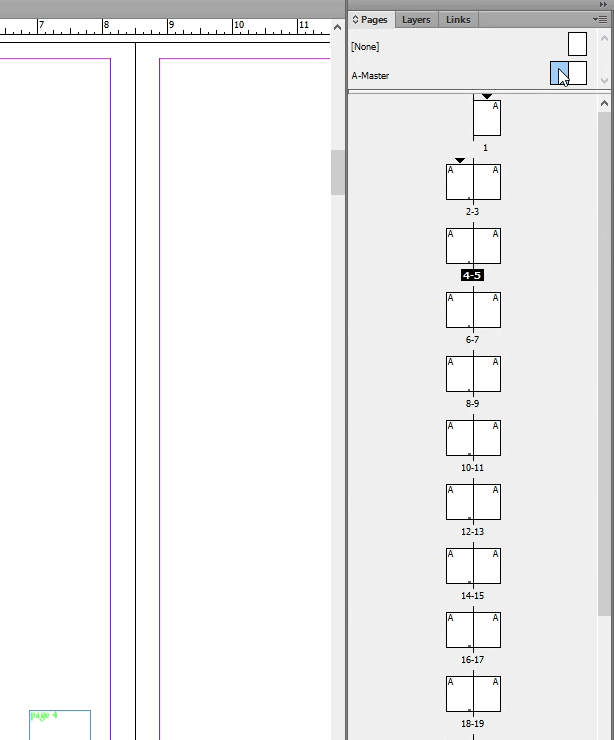
Placing Images
Go to File>Place and choose your image. Click the cursor and the image will appear with the top left corner at the cursor location. There is a limited snap feature, which helps when putting images on the bleed border
Resizing Images
There are two different borders to consider when sizing an image. One shows up with a blue outline, the other shows up with an orange outline. One indicates the actual edge of the image, and the other indicates the crop dimensions. Double-click an image to toggle back and forth between these two. A limited snap is in place when adjusting images. When resizing the image source make sure to hold the Shift button, as it constrains the image to its original heighth and width ratio.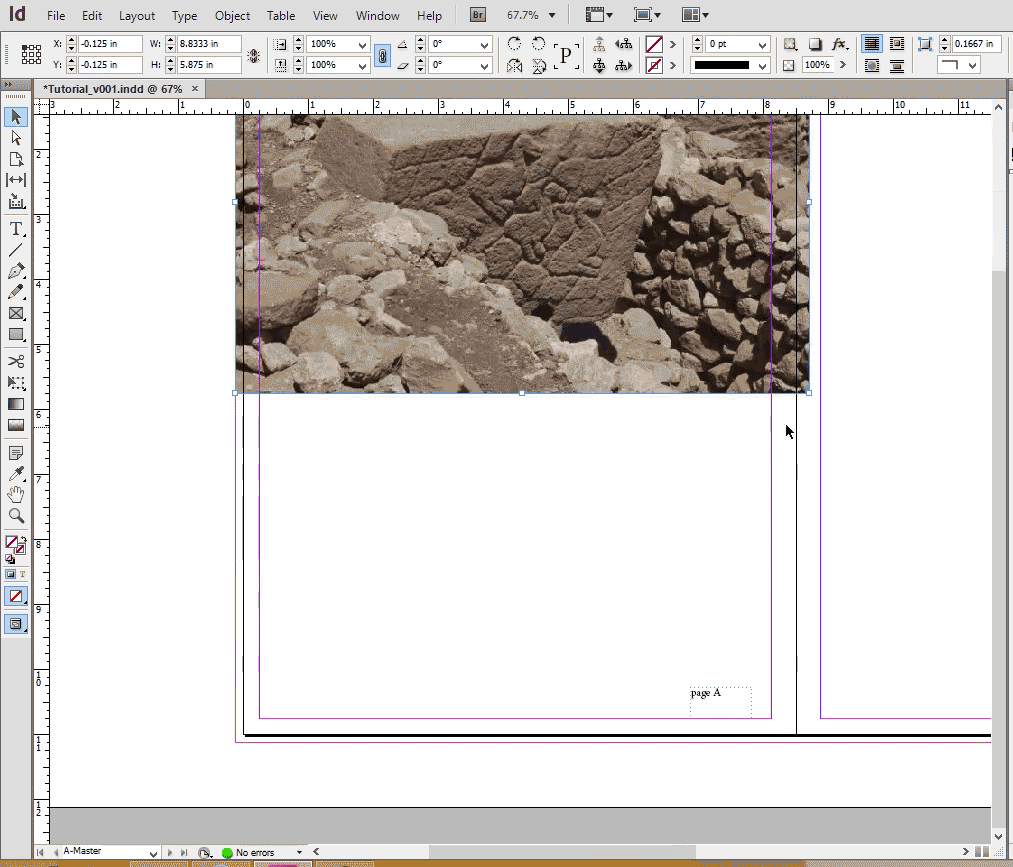
Moving Images
An image source can be moved relative to its crop window. Click and drag the image to utilize this.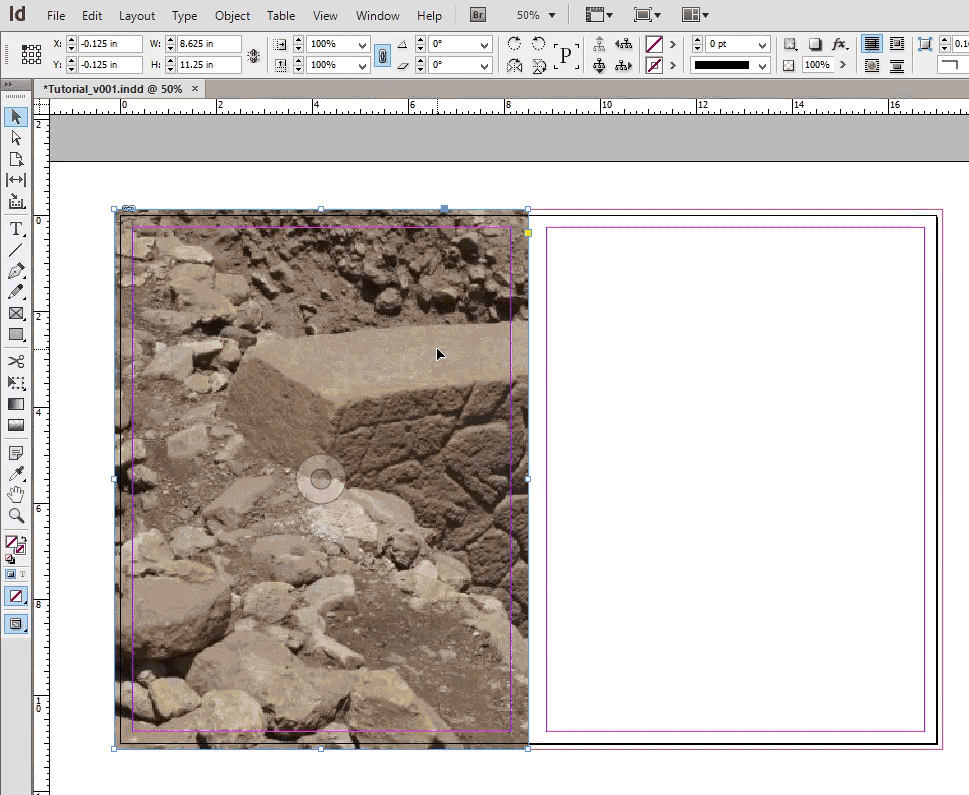
Change Document and Bleed Dimensions for Export
The default pdf export in InDesign doesn't export the bleed beyond the page dimensions. One way around this is to change the page dimensions to the bleed dimensions before export.Best practices for these changes dictates that you make sure you know which file has been altered already and which hasn't. This can be accomplished by appending information to the file name a la "Collectanea04_v015_ExportDimensions" instead of just "Collectanea4_v015". Alternately one can commit to never keeping an unexported version of the altered dimensions, after all it is easy to redo. InDesign files are relatively lightweight and won't bog up your storage device if you can keep track of your files.
Cover and Outside Spine
CreateSpace uses a specific formula based on page count to determine the width of the spine on your outside cover. The easiest way to format specific dimensions in Photoshop is to make good friends with the Image>ImageSize and Image>CanvasSize menu options. Type up the dimensions of your basic page, resolution, etc. in the Image Size panel, then modify it in the Canvas Size panel by adding to the dimensions. Make sure you move the alignment to add dimensions to the appropriate side. If you add an inch to an image with it in the center, it'll split that up into a half inch on each size. This is also a convenient way to add borders to images rather than messing with image elements during the main phase of creating your image. It's also very convenient way to place guide-lines at very specific points. To do this turn on snap with View>Snap, then drag a guideline from the ruler on the top or left of the image window, all the way to where you want it.
No comments:
Post a Comment